Starting permanent makeup is equal parts artistry, technique, and discipline. The good news? You don’t have to wing it all in one go to become a confident and consistent artist.
This guide is your practical roadmap for how to become a PMU artist, how to start practicing permanent makeup—with better habits, safer fundamentals, and a workflow built for beautiful healed results.
What is PMU and What Services Do Beginners Usually Start With?
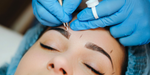
Permanent makeup (PMU) is a form of cosmetic tattooing that enhances features by implanting pigment into the skin. For beginner PMU artists, the most common entry services include:
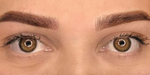
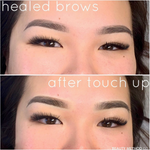
- Brows (nano, powder/ombre, combo styles)
- Lips (lip blush, neutralization for tone correction)
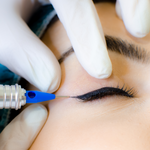
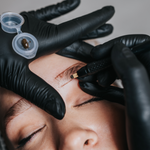
- Eyeliner (lash enhancement to soft liner)
Each service has its own learning curve, but they all share the same non-negotiables: a strong understanding of the fundamentals, which you learn by practicing safely on synthetic skin (more on that below).
Step-by-Step Process of Practicing Permanent Makeup as a Professional Beginner
Establishing a foundation of technical excellence ensures that every stroke is intentional and every result reflects a rising professional. This step-by-step approach provides the blueprint for a sophisticated start in the industry, moving from legal compliance to technical mastery.

Step 1: Secure Professional Trainings, Credentials, and Local Licensing
Establishing a professional practice requires meeting specific legal and credential requirements to ensure client safety and business longevity.
Since licensing varies by location, staying informed on local regulations is the first step toward a compliant studio.
Attending professional permanent makeup training, on the other hand, validates your expertise through formal recognition. Before you ever take a paying client, you should be able to confidently answer these questions:
- What depth am I targeting for this technique—and why?
- How do I control pressure, stretch, and speed for minimal trauma?
- What does a “good” healed result look like—and what causes poor retention or blowouts?
- Can I explain aftercare clearly and professionally?
Step 2: Select the Best Beginner PMU Essentials
If you want professional results, you’ve got to start with professional tools. When you invest in premium equipment from the start, you avoid the headaches of technical issues and get to focus on what really matters: your art and your client.
High-Performance PMU Machines
Your machine is the biggest investment in your setup. A quality PMU machine gives you that perfect mix of power and control, so you can work precisely without putting too much stress on the skin.
Microbeau offers a diverse selection of PMU machines engineered with cutting-edge technology to support professional growth. These devices feature advancements such as needle sensing technology, eGive, low vibration and adjustable stroke lengths. This level of technical sophistication allows for a seamless transition between soft brow shading and bold lip blushing with absolute precision. Explore the most popular machinesOpens a new window to find a wireless or corded style that feels intuitive in the hand.
Precision Needle Cartridges
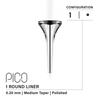
Not all needles are created equal. Achieving crisp lines and smooth gradients requires high-quality stabilized needle cartridgesOpens a new windowOpens a new window. When assembling a starter kit, prioritizing a range of round liners for fine details and specialized shading is essential. Opens a new windowVertix Pico Round LinersOpens a new window feature elongated clear tips for better precision and visibility over pigment flow, ensuring that every pass is executed with absolute clarity and control.
Professional Pigment Selection
Selecting a well-known pigment brand ensures reliable results and a predictable fade. Opens a new windowPerma Blend pigmentsOpens a new window offer the stability and consistency required for professional-grade work from the very first session. Most starter kits will give you:
- A range of brow tones: From light blonde to deep ebony.
- Versatile lip shades: Including warm, cool and neutral tones.
- Essential modifiers: To adjust the warmth or coolness of a shade based on the client's skin undertones.
Hygiene and Safety Supplies
A complete PMU setup isn't complete at all without essential medical supplies you use every day. For example:" and then you can include this list + gloves, professional-grade cleaners like Madacide, dental bibs, etc. At the end, you can say "and more" so it's clear we're just listing examples.
Step 3: Develop Muscle Memory Using Latex or Mannequin Heads
Mastery in permanent makeup for beginners is achieved through hundreds of hours of repetition. Before working on a live model, a beginner PMU artist must develop muscle memory on synthetic surfaces. Both latex and mannequin heads offer distinct advantages for this skill development and technical refinement.
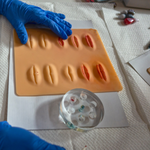
Latex skins
High-quality latex skins are the professional standard for perfecting hand speed and needle depth. Because the surface is flat, the artist can focus purely on technical precision, such as achieving consistent pixels in powder brows or sharp, crisp lines.
- Best for: Line confidence, pattern drills, hand stability, basic shading motions
- Watch for: Latex can “grab” or drag; pigment sits differently than skin
- Pro tip: Practice on multiple thicknesses so pressure control becomes intentional
Mannequin practice
Transitioning to a mannequin head introduces the three-dimensional nature of the human face. This practice surface is essential for learning how to adjust the machine angle around the brow bone or jawline. It also allows you to practice proper skin stretching—a critical skill for preventing trauma and ensuring even pigment implantation.
- Best for: Working around facial contours, angles, and ergonomics
- Watch for: It still isn’t living skin—treat it as a positioning tool, not a depth simulator
- Pro tip: Map and stretch like it’s real. Your habits follow you.
Both are valuable—if you practice with purpose. The goal is not pretty latex. The goal is controlled technique that translates.
|
Feature |
Latex Skins |
Mannequin Heads |
|
Primary Focus |
Technical precision and depth |
Ergonomics and 3D angles |
|
Best For |
Perfecting patterns and shading |
Learning skin stretching and hand placement |
|
Surface Type |
Two-dimensional and flat |
Three-dimensional and anatomical |
|
Skill Level |
Early-stage muscle memory |
Advanced procedural simulation |
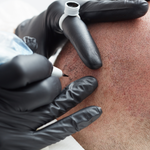
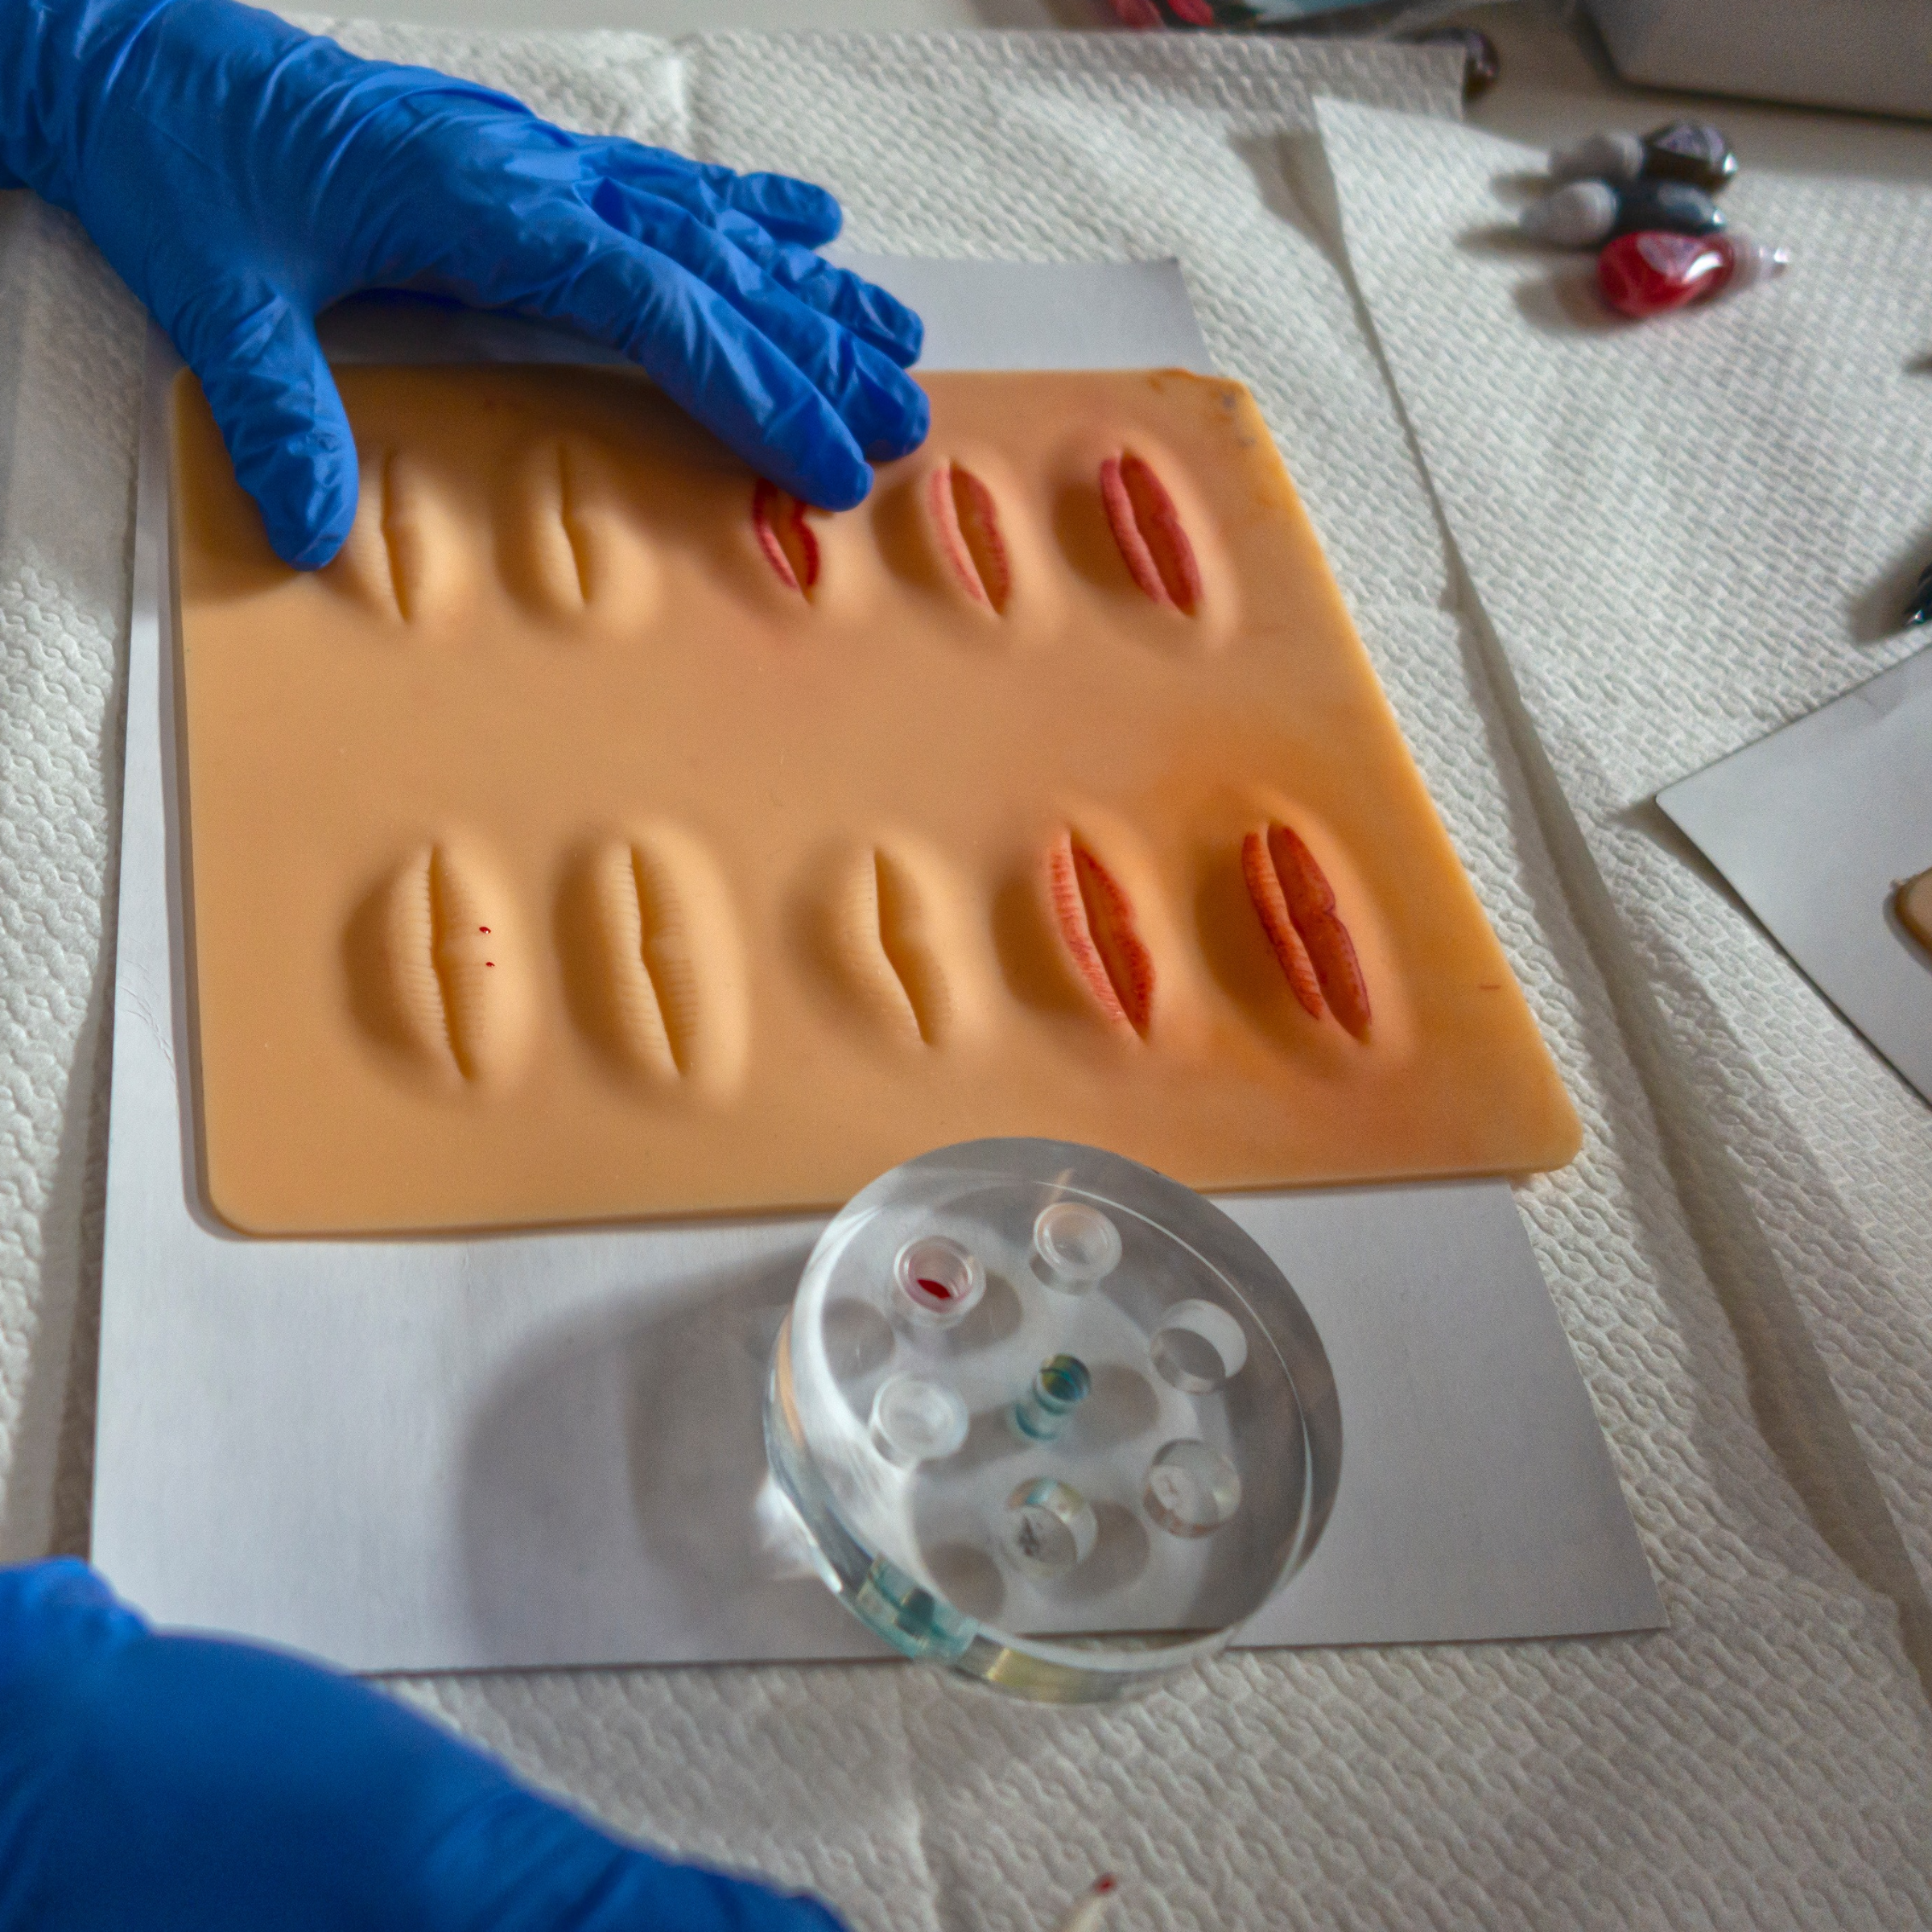
Step 4: Practice Achieving Proper Skin Depth for Better Healed Results
Depth is one of the biggest “invisible” skills in permanent makeup for beginners. Too shallow and pigment can fade quickly or heal patchy. Too deep and you risk blowouts, scarring, color shifts, and long-term correction challenges.
Here’s the truth: your healed work is your real work. Fresh pigment can look smooth even when technique is inconsistent. Healing tells the truth.
Beginner-friendly depth principles
- Consistency matters more than speed
- Stretch controls depth and reduces trauma
- Layering beats overworking (gentle, intentional passes win)
- Each service requires different depth, pressure, and movement—follow your permanent makeup training
If you want PMU practice tips that actually improve retention, start logging: machine settings, needle choice, hand speed, number of passes, and how your work looks after it “settles.”
Utilizing a Proper Three-Point Stretch
Achieving proper skin tension is critical for keeping your depth just right. When you use a firm three-point stretch, it flattens out your work area and gives just enough resistance for the needle to glide in smoothly.
If you don’t keep the skin tight, it can bounce around, making it hard to control your depth and causing "snagging," which can lead to more trauma and produce subpar healed results.
Practicing this technique on synthetic surfaces helps you find that "sweet spot" so it feels totally natural once you’re working on real clients. If you want to dive deeper into machine settings or needle hang, check out our FAQ pageOpens a new window for more tips.
Step 5: Understand Color Theory and Pigment Selection
Color theory is the backbone of predictable healed results. A beginner PMU artist must look beyond the initial pigment shade and analyze the canvas: the client's skin. Mastering the science of color ensures that work remains true to tone and ages gracefully over time. Utilizing a Opens a new windowcolor wheelOpens a new window helps in understanding color relationships and choosing the correct pigment for every skin type.
Analyzing Skin Undertones
Every client has a unique undertone—cool, warm or neutral. Selecting a pigment without considering these underlying hues can result in brows or lips that heal gray, blue or overly orange.
The Role of Modifiers
Modifiers are essential tools for customizing pigments. These concentrated shades are used to warm up a cool pigment or neutralize unwanted tones during a touch-up.
For instance, adding a drop of orange-based modifier can prevent a dark brow pigment from ashing out on a client with cool undertones. Understanding these subtle adjustments is what separates a technician from a master artist.
Step 6: Build a Professional PMU Portfolio While Learning

Starting a portfolio during the practice phase allows for the documentation of growth and the establishment of a professional aesthetic for beginner PMU artists.
- Take Great Photos of Your Practice Skins: Clean, well-done work on latex really shows off your technical skills. Snap your pics against a neutral background, and make sure to wipe away any extra pigment before you take the shot.
- Invest in Professional Lighting: Clear, high-quality photos are a must! A bright ring light or softbox will help show off every detail—like pixelation and linework—without any harsh shadows getting in the way.
- Use Macro Lenses for Detail: Up-close shots of single strokes or shading patterns highlight your attention to detail. Being this transparent helps build trust with future clients and mentors alike.
- Document Permanent Makeup Training Milestones: Including certificates and photos from hands-on workshops demonstrates a dedication to continuing education.
- Maintain a Consistent Aesthetic: Stick with the same lighting, angles, and editing style for each photo. Having a matching feed helps create a unique brand identity and shows you run your business with care.
Step 7: Practice Giving Aftercare Instructions to Your Clients
Your work doesn’t end when they leave the chair. Aftercare protects pigment, supports healing, and reduces unnecessary panic when clients enter the flaking phase.
Every aftercare conversation should include
- Expected healing stages (what’s normal vs what’s not)
- How to cleanse and protect the area
- What to avoid (picking, heavy sweating, swimming, harsh skincare, sun)
- When to contact you with concerns
- How touch-ups work and what to expect
When you make aftercare non-negotiable, you show clients you mean business. Recommending pro-grade aftercare productsOpens a new windowOpens a new window means they’ll use safe, artist-approved formulas that really help the skin heal. This kind of care builds trust and helps your clients get those gorgeous, long-lasting results that will boost your reputation.
A Simple Week by Week Plan To Start Practicing Permanent Makeup
If you’re searching how to start practicing permanent makeup, consistency beats intensity.
Weeks 1–2: Control + confidence
- Line drills: straight, curved, tapered starts/stops
- Dotwork drills: even spacing, controlled pressure
- Shading drills: smooth gradients, no harsh edges
- Stretch practice: build the habit every time
Weeks 3–4: Mapping + symmetry
- Brow mapping practice on mannequins (front-facing + angled)
- Lip border mapping + shape balancing
- Eyeliner placement fundamentals (lash line focus)
Weeks 5–6: Technique-building sets
- Full brow sets on latex with specific goals (stroke consistency, density control)
- Lip shading patterns with controlled saturation
- Lash enhancement lines with refined pressure
Mastery of pigment implantation is the required foundation before advancing into corrective procedures like permanent makeup removal. Developing these high-level skills ensures that a studio remains the primary destination for both enhancement and refinement, providing a complete boutique experience for every client.
Ready to Practice?
Your best results start long before your first paying client. It all begins with the right tools and the right practice plan. Contact our teamOpens a new windowOpens a new window today if you need more guidance in choosing the right supplies to start with. Build your craft slowly but surely and let your work speak for itself.