You’ve invested in the best machines and hours of training, but maybe your photos and portfolio leave a lot to be desired. It’s exhausting to create a beautiful result only to have bad lighting wash it out. Creating a clean, professional portfolio helps you build trust with potential clients, and hopefully glean new ones.
Whether you're a pro or just learning how to start practicing permanent makeup as a beginnerOpens a new window, here's how you can level up your PMU photos to match the quality of your work.
What is a PMU Portfolio?
A PMU portfolio is a professional collection of your best results,signature style, and growth as an artist. It’s how you connect with other professionals and new clients on social media. Since every result reflects your name, it’s important your portfolio looks the best it can possibly be.
A Step-by-Step Blueprint for Better PMU Photos
Use these steps to build a portfolio that highlights your skills and helps you grow with clarity and purpose.
Step 1: Master Your Lighting

Lighting is the most important part of a quality PMU photo. Without it, your clients can't see the precision of your work. Bad lighting can make even a perfect brow look dull.
Use high-quality LED lights. Look for a ring light or a softbox that lets you adjust the color temperature. For PMU, you want a "daylight" setting around 5600K. This makes sure the colors of the ink look true to life and not too yellow or blue.
It's also helpful to look for a light with a high Color Rendering Index (CRI) of 90 or more. This shows the skin and pigment colors exactly as they are. Using the right light helps you perform a proper PMU quality check before your client leaves the chair. If you don't have professional lights, find a large window. Natural, indirect sunlight is great for showing the true colors of healed permanent makeup.
Step 2: Be Mindful of Your Background
A messy background takes the focus away from your art. You want your portfolio to feel boutique, not basic. A cluttered space can make your studio look unprofessional.
Use a solid-colored wall or a clean medical headrest for your photos. Simple backgrounds make your work stand out. This helps you create a professional, high-end look that matches your brand.
Step 3: Find the Right Angles
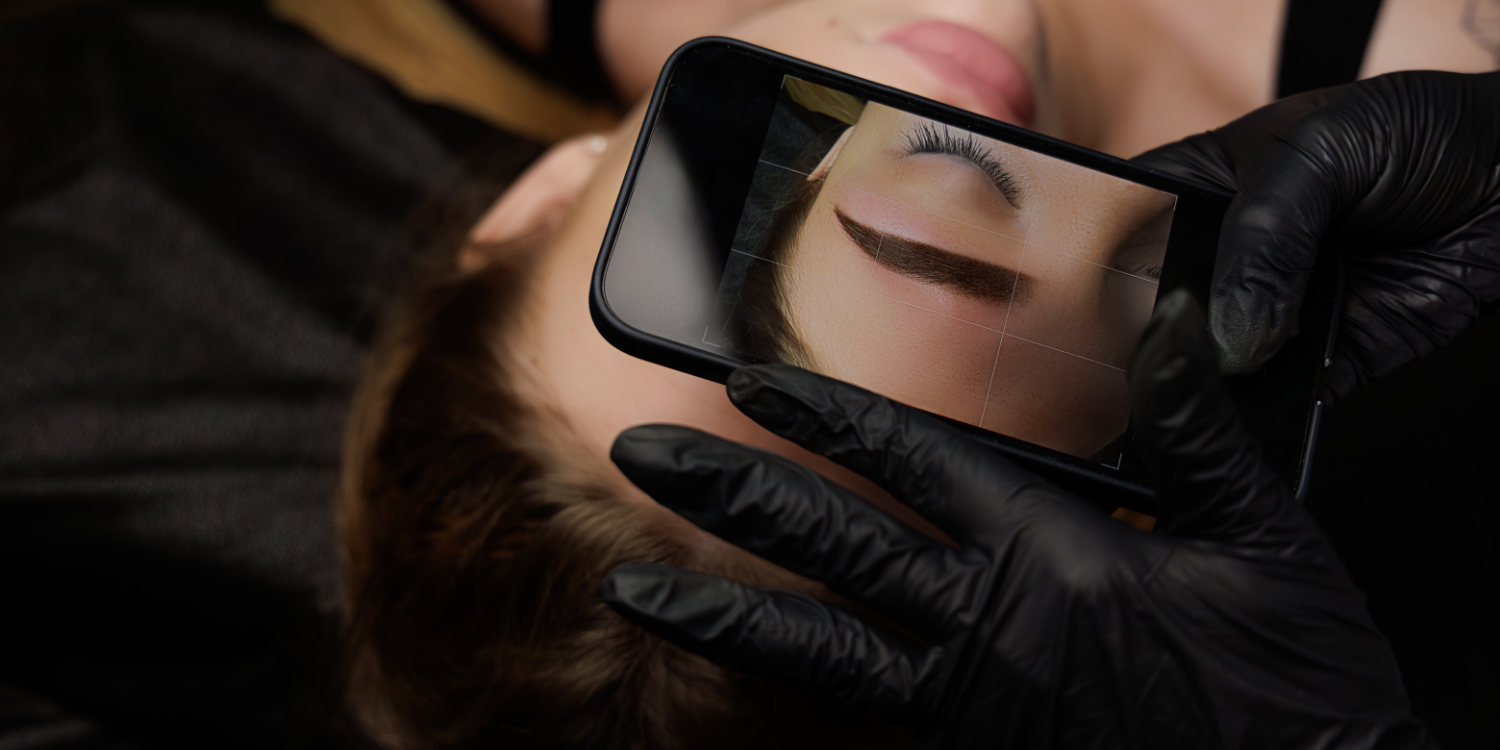
When you're evaluating PMU results, the angle of the photo matters. You want to show the work clearly and with purpose. Also, consistency is key. Try to use the same angles for every post so your grid has a steady, professional flow.
The Close-Up
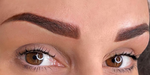
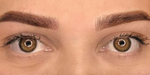
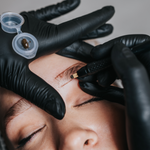
Get close enough to see the fine details of your work. This view is where your healed results really shine. It shows the way the pigment sits in the skin and proves your strokes are clean. Clients, particularly clients who’ve had PMU work done before, definitely look for this level of detail when they're choosing an artist. Consequently, getting up close to your work is a great way to build trust with your followers and attract new clients.
The Full Face
While close-ups are important, so are full context shots. Take a step back to show the whole face. This helps potential clients see how the work fits their unique features. It shows you understand symmetry and how to create beauty with intention. When you show the whole face, you prove that your work looks natural and refined in real life. It's a powerful way to show how you boost your client’s confidence, particularly if they’re smiling in the shot and pleased with the results.
The Level Shot
Make sure your camera is at the same height as the client's face. If you tilt the phone too high or too low, the brows or lips can look uneven or distorted. A straight-on shot makes sure your work is seen exactly as it is. This level of clarity helps you feel more confident in your results and gives your grid a professional, boutique feel.
Step 4: Practice Ethical Editing

We all want our photos to look perfect, but honesty is vital in our industry. You can remove a small blemish or reduce redness around the area. However, you should never change the look of the actual healed results.
Assessing healed PMU is how clients really judge your talent. It's important to be realistic about outcomes so your clients know what to expect. Posting a healed PMU shows that you care about long-term results and what safe PMU actually meansOpens a new window for your clients.
Step 5: Label Your Work
A before-and-after photo should answer questions, not create confusion.
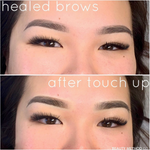
Clients should be able to tell right away what stage of the result they’re looking at. If a photo is fresh, say that. If it’s healed, say that too. This level of clarity helps them prepare for their first PMU appointmentOpens a new window with confidence.
Simple labels work best:
- Before
- Fresh After
- Healed
- 6 Weeks Healed
- 8 Weeks Healed
- After Touch-Up
You can also add helpful context in the caption, such as:
- service type
- healed time frame
- if this is after the initial session or perfecting session
- any short note that helps explain the result clearly
Try to keep your before-and-after images as matched as possible. Use similar angles, lighting, and facial positions. That gives your audience a more honest view of the outcome.
Moreover, a clear label makes the image easier to understand. It also shows professionalism, which matters when clients are assessing healed PMU for themselves.
Use This Simple PMU Quality Check Before You Post
Before you upload a photo, take a moment to review it with a quick PMU quality check.
Ask yourself:
- Is the lighting even and true-to-life?
- Is the angle clear and easy to assess?
- Is the background clean?
- Is the image edited realistically?
- Is the result labeled clearly as fresh or healed?
- Does this photo reflect the outcome honestly?
That short review can help you keep your portfolio strong and consistent over time.
Create Results That Deserve the Spotlight
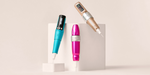
It's important to remember that taking a stunning photo is the final step in your journey toward mastery. Of course, becoming masterful at PMU also comes down to constant evolution and quality supplies. Explore our bestselling machinesOpens a new window to help create your best work every single time.You can pair your talent with our top-selling needlesOpens a new window, too, and make sure every stroke is precise and crisp on camera. To ensure your colors look rich and true in your feed, choose from our top-selling inksOpens a new window. Finally, support your artistry with our essential PMU aftercareOpens a new window, so you can have post-healed photos that stun just as much as the freshly healed ones
If you have technical questions about our tools or how to adjust them to fit your technique, you can find the answers on our FAQ pageOpens a new window. Invest in your professional power and choose the tools that help you reach your full potential. It's time to show the world the high-achiever you've become.