Needle depth in permanent makeup isn’t about hitting one exact measurement.
It’s about control.
When you understand how depth, pressure, stretch, speed, and skin response work together, you can make better choices in every session. That’s what leads to better retention, cleaner details, less trauma, and healed results that reflect the care behind your work.
What Is Needle Depth in PMU?
PMU needle depth refers to how far the needle penetrates the skin to implant pigment.
The goal is controlled pigment placement: deep enough to achieve proper retention, but not so deep that it creates unnecessary trauma, blurred healed results, or increases the risk of pigment migration.
In permanent makeup, pigment needs to be placed below the epidermis and into the upper layers of the dermis, where it can remain visible after healing. However, that doesn’t mean deeper is better. Clean, healed PMU comes from precision and control — not force.
Understanding Needle Depth versus Needle Protrusion (Or Needle Hang)
One of the most common points of confusion in PMU is the difference between needle depth and needle protrusion. The terms are often used interchangeably, but they describe two different things.
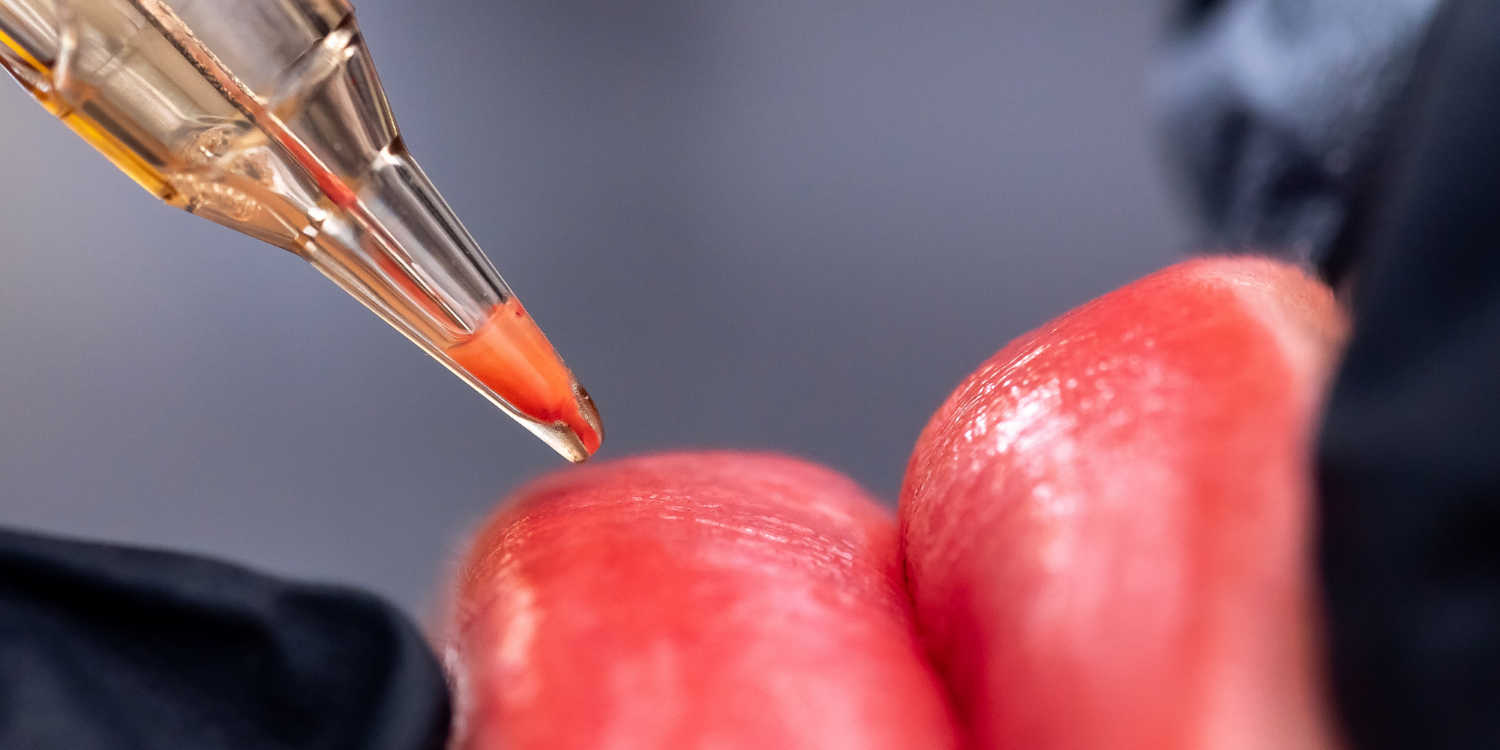
Needle protrusion (also called needle hang) refers to how far the needle extends beyond the tip of your PMU cartridge. This is the adjustment you’re making when you turn the depth dial or adjust the grip on most PMU machines. Increasing protrusion gives the needle more exposed travel, while decreasing it pulls the needle closer to the cartridge tip.
Needle depth, on the other hand, refers to how far the needle actually penetrates the skin during a procedure. Protrusion influences depth, but it doesn’t determine depth. The final depth is also affected by factors like hand pressure, machine speed, stroke length, needle configuration, skin thickness, stretch, and your working angle. Thus, mastering needle depth requires practice to master effectively.
A Brief Overview
|
Term |
What It Means |
What Controls It |
Why It Matters |
|
Needle hang |
The amount of needle exposed outside the cartridge tip |
Cartridge choice, grip adjustment, and machine setup |
Affects needle visibility, working feel, and how much room the needle has to travel before contacting the skin |
|
Needle depth |
How far the needle actually penetrates into the skin during a procedure |
Needle hang, hand pressure, angle, hand speed, skin stretch, machine behavior, and skin characteristics |
Determines where pigment is deposited and influences healed results, retention, and skin trauma |

Why True Depth Changes Your Healed Outcomes
Needle depth directly impacts your final healed results.directly impacted by . When you hit the right layer, your lines are more likely to stay crisp and your shading is more likely to say soft and natural-looking over time.
The Sweet Spot: Placing Pigment at the Right Depth
This point can change from client to client. Skin thickness, texture, age, hydration, area, and service type can all affect what depth feels like. Because of that, depth control isn't one fixed measurement that works for every person.
Here’s a quick reference table showing how needle depth affects your results.
|
Depth Issue |
What Happens in the Skin |
What You May See After Healing |
|
Too shallow |
Pigment sits too close to the surface |
Poor retention, patchiness, and fast fading |
|
Controlled depth |
Pigment reaches the right layer with limited trauma |
Better retention, clean lines and smoother color |
|
Too deep |
Pigment is pushed past the ideal layer |
Blurring, migration, color shifts, and excess trauma |
Finding the middle ground ensures the color stays stable, crisp, and long-term. You can review our detailed skin anatomy cheat sheet for PMUOpens a new window to see exactly how these layers behave during a session.
Depth Rules for Different Procedures
You must adapt your technique for each area of the face because skin thickness and tissue structure vary dramatically.
|
Procedure |
Depth Approach and Technique |
|
Nano Brows |
Requires precise depth control to create clean hair strokes without overworking the skin. Going too deep can cause strokes to heal thicker, blur together, or lose their crisp appearance. |
|
Powder Brows |
Typically relies on controlled, consistent pigment implantation to build soft shading. Maintaining a steady depth helps create even pixel saturation without causing unnecessary trauma. |
|
Lip Blush |
Requires careful depth control because lip tissue is softer and more vascular. Working too aggressively can lead to excess trauma, swelling, or uneven healed color. |
|
Eyeliner |
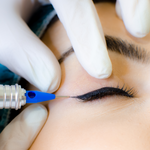
Requires especially careful control due to the thin, delicate eyelid skin. Excess depth or pressure increases the risk of migration and unwanted pigment placement. |
How to Develop Better Depth Control as an Artist
You can master depth control through consistent practice. This will deepen your understanding of how everything–from your chosen supplies to your personal style and technique–works together to achieve optimal depth. s
Use synthetic practice skins to start. They won’t respond exactly the same way as a real client’s skin, but they’re a helpful and authentic starting point for getting to know all your machine’s settings. Use them to start building these good habits:
- Practice steady hand pressure before changing speed or stroke.
- Keep your stretch firm so the needle doesn’t bounce.
- Adjust one variable at a time, such as pressure, speed, or hand pace.
- Watch the skin response during the procedure.
- Look for controlled pigment flow, not just dark immediate color.
- Take clear healed photos for every service type.
- Compare healed results to your notes from the session.
- Review pass count, pressure, and skin response before blaming one factor.
Also, avoid judging your depth only by how the work looks right away. Fresh pigment can look strong, then heal too light. It can also look clean at first, then heal blurry because the pigment was placed too deep.

Needle Depth Troubleshooting Guide
When healed results don’t match what you expected, depth should be part of your review. However, it should not be the only thing you check.
Use this guide to connect common healed issues to possible causes:
|
Issue |
Possible Depth Clue |
Other Possible Causes |
What to Review |
|
“My brows healed too light.” |
Pigment may have been implanted too superficially, causing reduced retention. |
Pigment choice, skin type, client aftercare, insufficient saturation, machine speed, or technique. |
Review healed photos, skin characteristics, pigment selection, saturation, and your passes. |
|
“My strokes healed blurry.” |
Excessive depth or trauma may have caused strokes to heal wider or less defined. |
Too much pressure, poor stretch, slow hand speed, stroke spacing, or skin movement. |
Review pressure, angle, stretch, stroke placement, and machine setup. |
|
“My work isn’t retaining evenly.” |
Inconsistent depth across the area may have caused uneven pigment implantation. |
Uneven stretch, changing hand speed, skin texture differences, pigment choice, or aftercare. |
Compare healed results by zone and evaluate where your technique changed. |
|
“The skin swelled too fast.” |
Working too aggressively or creating excess trauma may contribute to increased swelling. |
Client sensitivity, multiple passes, irritation, procedure length, or normal inflammatory response. |
Review pressure, machine settings, pacing, and how many passes were made in each area. |
|
“My lips healed patchy.” |
Uneven pigment placement or inconsistent depth may have affected saturation. |
Lip texture, swelling, pigment selection, client aftercare, uneven passes, or inconsistent saturation. |
Review stretch, pressure, saturation strategy, and how the lips responded during the procedure. |
|
“My eyeliner healed soft or spread out.” |
Pigment may have been placed too deeply for the delicate eyelid area. . |
Excess pressure, poor stretch, angle, skin movement, or unsuitable setup. |
Review pressure, angle, skin support, and pigment placement. |
Better Control Starts With Quality Supplies
Your technique leads the result, but your setup should support the way you work. When your machine feels steady, smooth, and predictable, it’s easier to focus on pressure, stretch, and clean pigment placement.
Explore our PMU machinesOpens a new window and needle cartridgesOpens a new window trusted by artists worldwide, and start building better habits around needle depth. You won’t regret it!